Cleaning a humidifier tank involves a simple, two-tiered schedule: a quick daily rinse and a weekly deep clean using white vinegar to prevent mineral buildup, mold, and bacteria. This routine ensures you breathe fresh, healthy moisture and avoids potential respiratory issues. Regular cleaning is crucial for maintaining optimal indoor air quality and extending your humidifier’s lifespan.
Why Bother Cleaning Your Humidifier? It’s More Than Just Grime
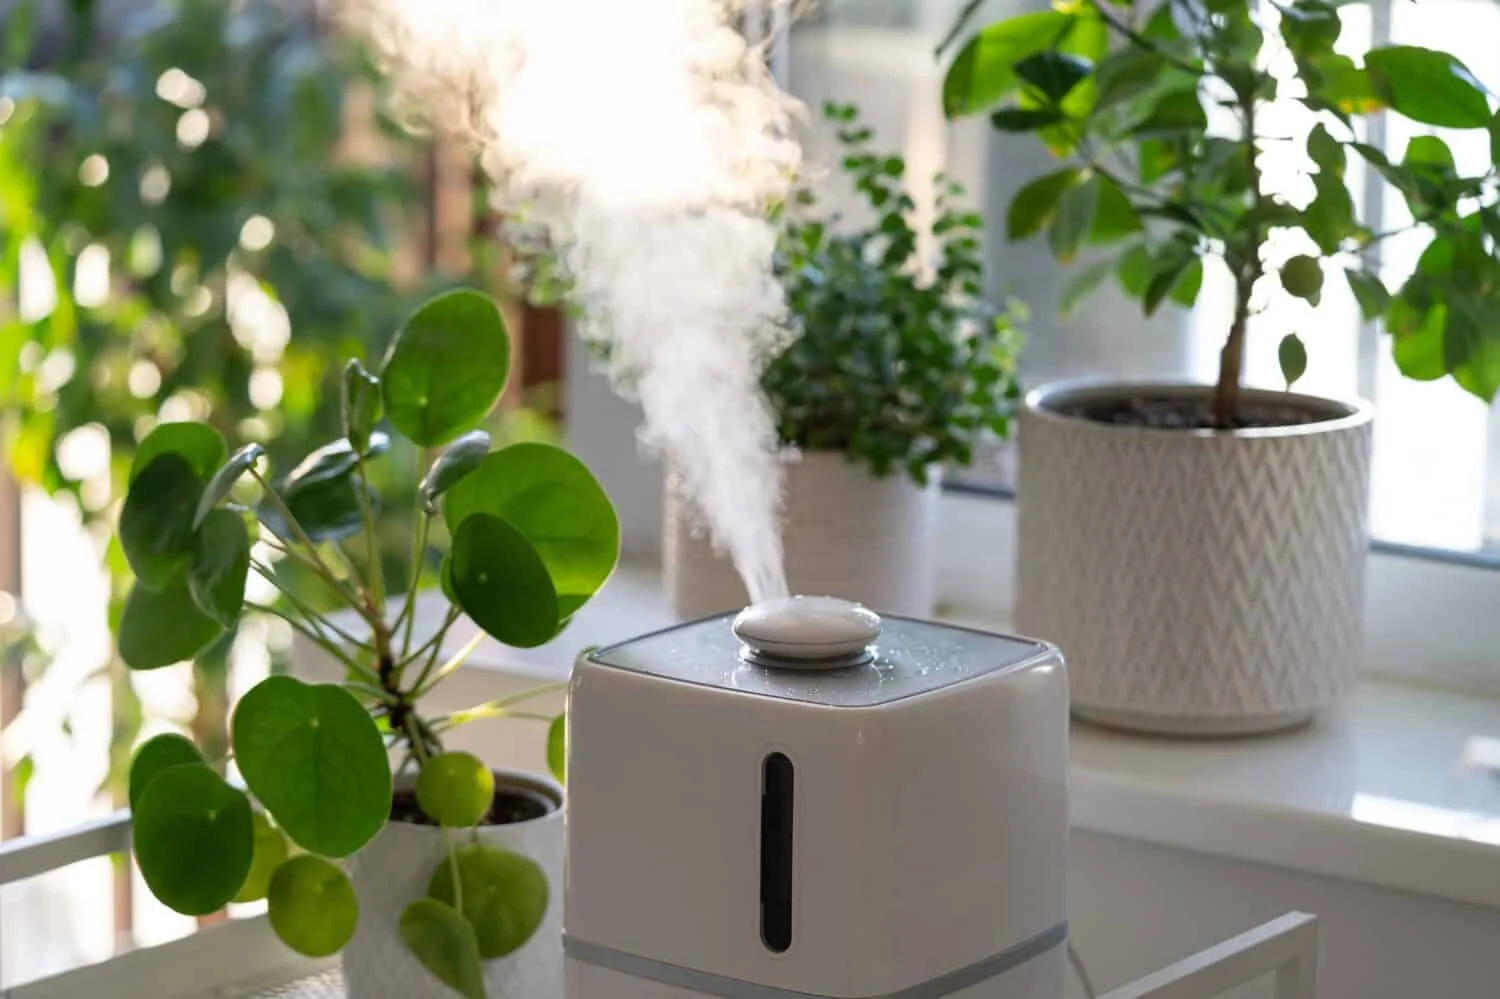
Think of your humidifier tank as a small, personal pond. If left stagnant, it becomes a breeding ground for mold, mildew, and bacteria. When your machine mists this contaminated water into your room, you’re essentially aerosolizing those unwelcome guests right into your lungs.
Here’s the deal:
- Mold and Mildew: These fungi thrive in damp environments and can trigger allergic reactions, asthma attacks, and other respiratory issues.
- Bacteria: Certain bacteria can flourish in standing water, leading to flu-like symptoms or more serious lung infections, a condition sometimes referred to as “humidifier fever.”
- Mineral Buildup (The “White Dust”): If you use tap water, which is rich in minerals, your humidifier (especially an ultrasonic model) can emit a fine white dust. This dust, composed of calcium and magnesium, can settle on furniture and, more importantly, can be inhaled. While generally not harmful for most people, it can irritate the airways of infants and those with asthma.
Cleaning your humidifier isn’t about aesthetics; it’s a critical health maintenance routine for your home appliance.
As our go-to indoor air quality specialist, Dr. Eleanor Vance, often says, “A humidifier is a tool for respiratory wellness. Letting it become a source of contaminants defeats its entire purpose. Regular cleaning is non-negotiable.”
The Step-by-Step Guide on How to Clean a Humidifier Tank
Alright, let’s roll up our sleeves. The good news is that this process is simple and doesn’t require any fancy, expensive chemicals. For most humidifiers, a little white vinegar and some elbow grease are all you need.
What You’ll Need: Your Humidifier Cleaning Toolkit
Before you start, gather your supplies. Having everything ready makes the process a breeze.
- White Vinegar
- Water
- A soft-bristled brush or an old toothbrush
- A soft cloth or sponge
- (Optional) A small amount of liquid bleach for deep disinfection
The Cleaning Process: From Grimy to Gleaming
Follow these steps for a weekly deep clean that will keep your air pure and your machine running smoothly.
- Safety First: Unplug and Disassemble. Never, ever clean a humidifier while it’s plugged in. Disconnect it from the wall, empty the tank, and take it apart. This usually means separating the water tank from the base.
- The Vinegar Soak: Your Secret Weapon Against Buildup. Fill the humidifier tank about halfway with undiluted white vinegar. Swish it around to coat all the interior surfaces. If the base of your unit also holds water (and is detachable), pour some vinegar in there as well. Let it sit for at least 30-60 minutes. The acetic acid in the vinegar is fantastic for breaking down mineral deposits and disinfecting surfaces.
- Scrub-a-Dub-Dub: Get Into the Nooks and Crannies. After the soak, pour out the vinegar. Use your soft-bristled brush to gently scrub the inside of the tank and the base. Pay close attention to any corners or small components where grime might hide. This agitation is key to removing the loosened mineral scale.
- Rinse, Rinse, and Rinse Again. This step is crucial. Thoroughly rinse the tank and base with clean water until the smell of vinegar is completely gone. You don’t want your room smelling like a salad dressing! It might take two or three rinses to get it all out.
- The Optional Disinfection Step (For a Deeper Clean). For an extra layer of sanitation, the U.S. Environmental Protection Agency (EPA) suggests a bleach solution. Use this with caution. Mix 1 teaspoon of liquid bleach with 1 gallon of water. Pour this solution into the tank, swish it around, and let it sit for about 15-20 minutes. Again, rinse thoroughly until the bleach smell is undetectable. Important: Never mix vinegar and bleach, as this creates toxic chlorine gas. Do this step after you have completely rinsed out the vinegar.
- Air It Out: The Final and Most Important Step. Shake out any excess water and wipe the components with a dry, clean cloth. Place all the parts on a towel and let them air dry completely before you reassemble the unit. Putting it back together while still damp invites mold to come right back.
How Often Should I Clean My Humidifier?
This is one of the most common questions we get, and the answer is key to maintaining excellent air quality. A consistent schedule is far more effective than an occasional, frantic scrub.
The best approach is a simple, two-tiered schedule. A quick daily rinse prevents immediate buildup, while a weekly deep clean tackles anything that starts to form. This regular maintenance is the best way to ensure your home’s air remains a source of comfort, not concern.
Daily Maintenance: The 60-Second Habit
Bảng trống.Empty the tank, give it a quick rinse with clean water, and refill it with fresh water. Never top off old water. This simple act prevents water from stagnating and biofilm from forming.
Weekly Deep Clean: The Non-Negotiable Reset
Once a week, follow the full step-by-step guide above using vinegar. This is your essential reset to eliminate mineral scale and keep microbial growth at bay.
Pro Tips for a Pristine Humidifier and Better Air
Want to take your humidifier game to the next level? As experts who live and breathe this stuff, we’ve got a few extra tricks up our sleeves.
- Choose Your Water Wisely: Tap water is the primary source of that “white dust.” Using distilled or demineralized water is the single best way to prevent mineral buildup. It keeps your machine cleaner for longer and ensures the mist is as pure as possible.
- Change Your Filters: If you have an evaporative humidifier, that wick filter is doing a tough job trapping minerals. Follow the manufacturer’s instructions for changing it—usually every 30-60 days. A clogged filter is an ineffective and potentially germy filter.
- Proper Off-Season Storage: When the humid season returns, don’t just shove your humidifier in a closet. Clean and disinfect it one last time, ensure it’s bone dry, and store it in its original box or a clean, dry place.
Frequently Asked Questions
What can I use to clean my humidifier instead of vinegar?
If you can’t stand the smell of vinegar, you can use a 3% hydrogen peroxide solution. Use it in the same way you would vinegar for the soaking step. Another option is to use citric acid powder (about 1-2 tablespoons per gallon of water) to descale the unit.
What is the pink slime in my humidifier and how do I get rid of it?
That pink or reddish slime is a common airborne bacterium called Serratia marcescens. It thrives in damp conditions. The good news is that the vinegar or bleach cleaning process outlined in our guide on how to clean a humidifier tank is highly effective at removing it. Regular weekly cleaning will prevent it from coming back.
Is it safe to run a humidifier with vinegar in it to clean the air?
No, you should never run your humidifier with vinegar, bleach, or any other cleaning agent in the water. These substances are not meant to be aerosolized and inhaled. Only use clean, fresh water in your machine during operation.
Does a clean humidifier really help with allergies?
Absolutely. A clean humidifier maintains optimal humidity levels (40-60%), which can soothe irritated nasal passages. More importantly, by preventing the spread of airborne mold and bacteria—common allergens—a clean unit directly contributes to a healthier, less reactive indoor environment.
What happens if I never clean my humidifier tank?
Neglecting to clean your humidifier tank turns a beneficial appliance into a health hazard. It will actively pump mold spores, bacteria, and other microbes into your air, potentially causing respiratory irritation, allergic reactions, and even lung infections. The mineral buildup can also damage the machine itself, shortening its lifespan.
Your Partner in Healthy Air
Mastering how to clean a humidifier tank transforms your device from a simple appliance into a powerful tool for your well-being. It’s a small investment of time that pays huge dividends in the quality of the air you and your family breathe every day. Make it a regular part of your home care routine, and you’ll enjoy all the benefits of perfect humidity—soothed sinuses, softer skin, and a truly refreshing indoor atmosphere—without any of the worries. Here at Humidifier Go, we’re dedicated to helping you breathe better, one clean humidifier at a time.
How to Clean a Humidifier Tank
Follow these steps for a weekly deep clean to keep your humidifier running smoothly and your air pure, preventing mold, bacteria, and mineral buildup.
Always unplug your humidifier from the wall outlet before cleaning. Empty the water tank completely and carefully disassemble the unit, separating the water tank from the base and any other removable components.
Fill the humidifier tank halfway with undiluted white vinegar and swish it to coat all interior surfaces. If the base also holds water, add some vinegar there. Let it sit for 30-60 minutes; the acetic acid effectively breaks down mineral deposits and disinfects.
After soaking, pour out the vinegar. Use a soft-bristled brush or an old toothbrush to gently scrub the inside of the tank and the base. Pay close attention to corners and small components to remove loosened mineral scale and grime.
Rinse all components thoroughly with clean water. Repeat this step two or three times until the smell of vinegar is completely gone. This ensures no cleaning agents are left behind to be aerosolized during operation.
Shake out any excess water from the cleaned components and wipe them with a dry, clean cloth. Place all parts on a towel and allow them to air dry completely before reassembling the unit. Reassembling while still damp can encourage mold growth.
Pet products vetted on real animals
Practical specs, not advice. Unsubscribe anytime.
The daily rinse part is easy enough, but I find the weekly deep clean a bit time-consuming. I appreciate knowing about the mineral buildup and respiratory issues, but sometimes I just don’t have the extra time to let the vinegar soak. Maybe I need to get a second tank so I can rotate them.
I’ve always been pretty good about cleaning my humidifier, but I never really understood *why* it was so important until now. The comparison to a ‘small, personal pond’ really stuck with me. Knowing that I’m preventing mold and mildew from getting into the air makes me much more diligent about the cleaning schedule. My allergies have been better since I started being more consistent.
I used to just rinse my humidifier out, but after reading about how mold and bacteria can build up, I started doing the weekly deep clean with white vinegar. It’s made such a difference! The air feels so much cleaner, and I don’t have that weird musty smell anymore. Definitely worth the extra few minutes to keep my family breathing healthy.
This routine is a lifesaver! I was getting worried about the potential respiratory issues mentioned, especially with my kids. Following the steps for the daily rinse and weekly deep clean has made my humidifier feel brand new. It’s so simple to use white vinegar, and it really does keep the tank sparkling clean. No more slimy residue!